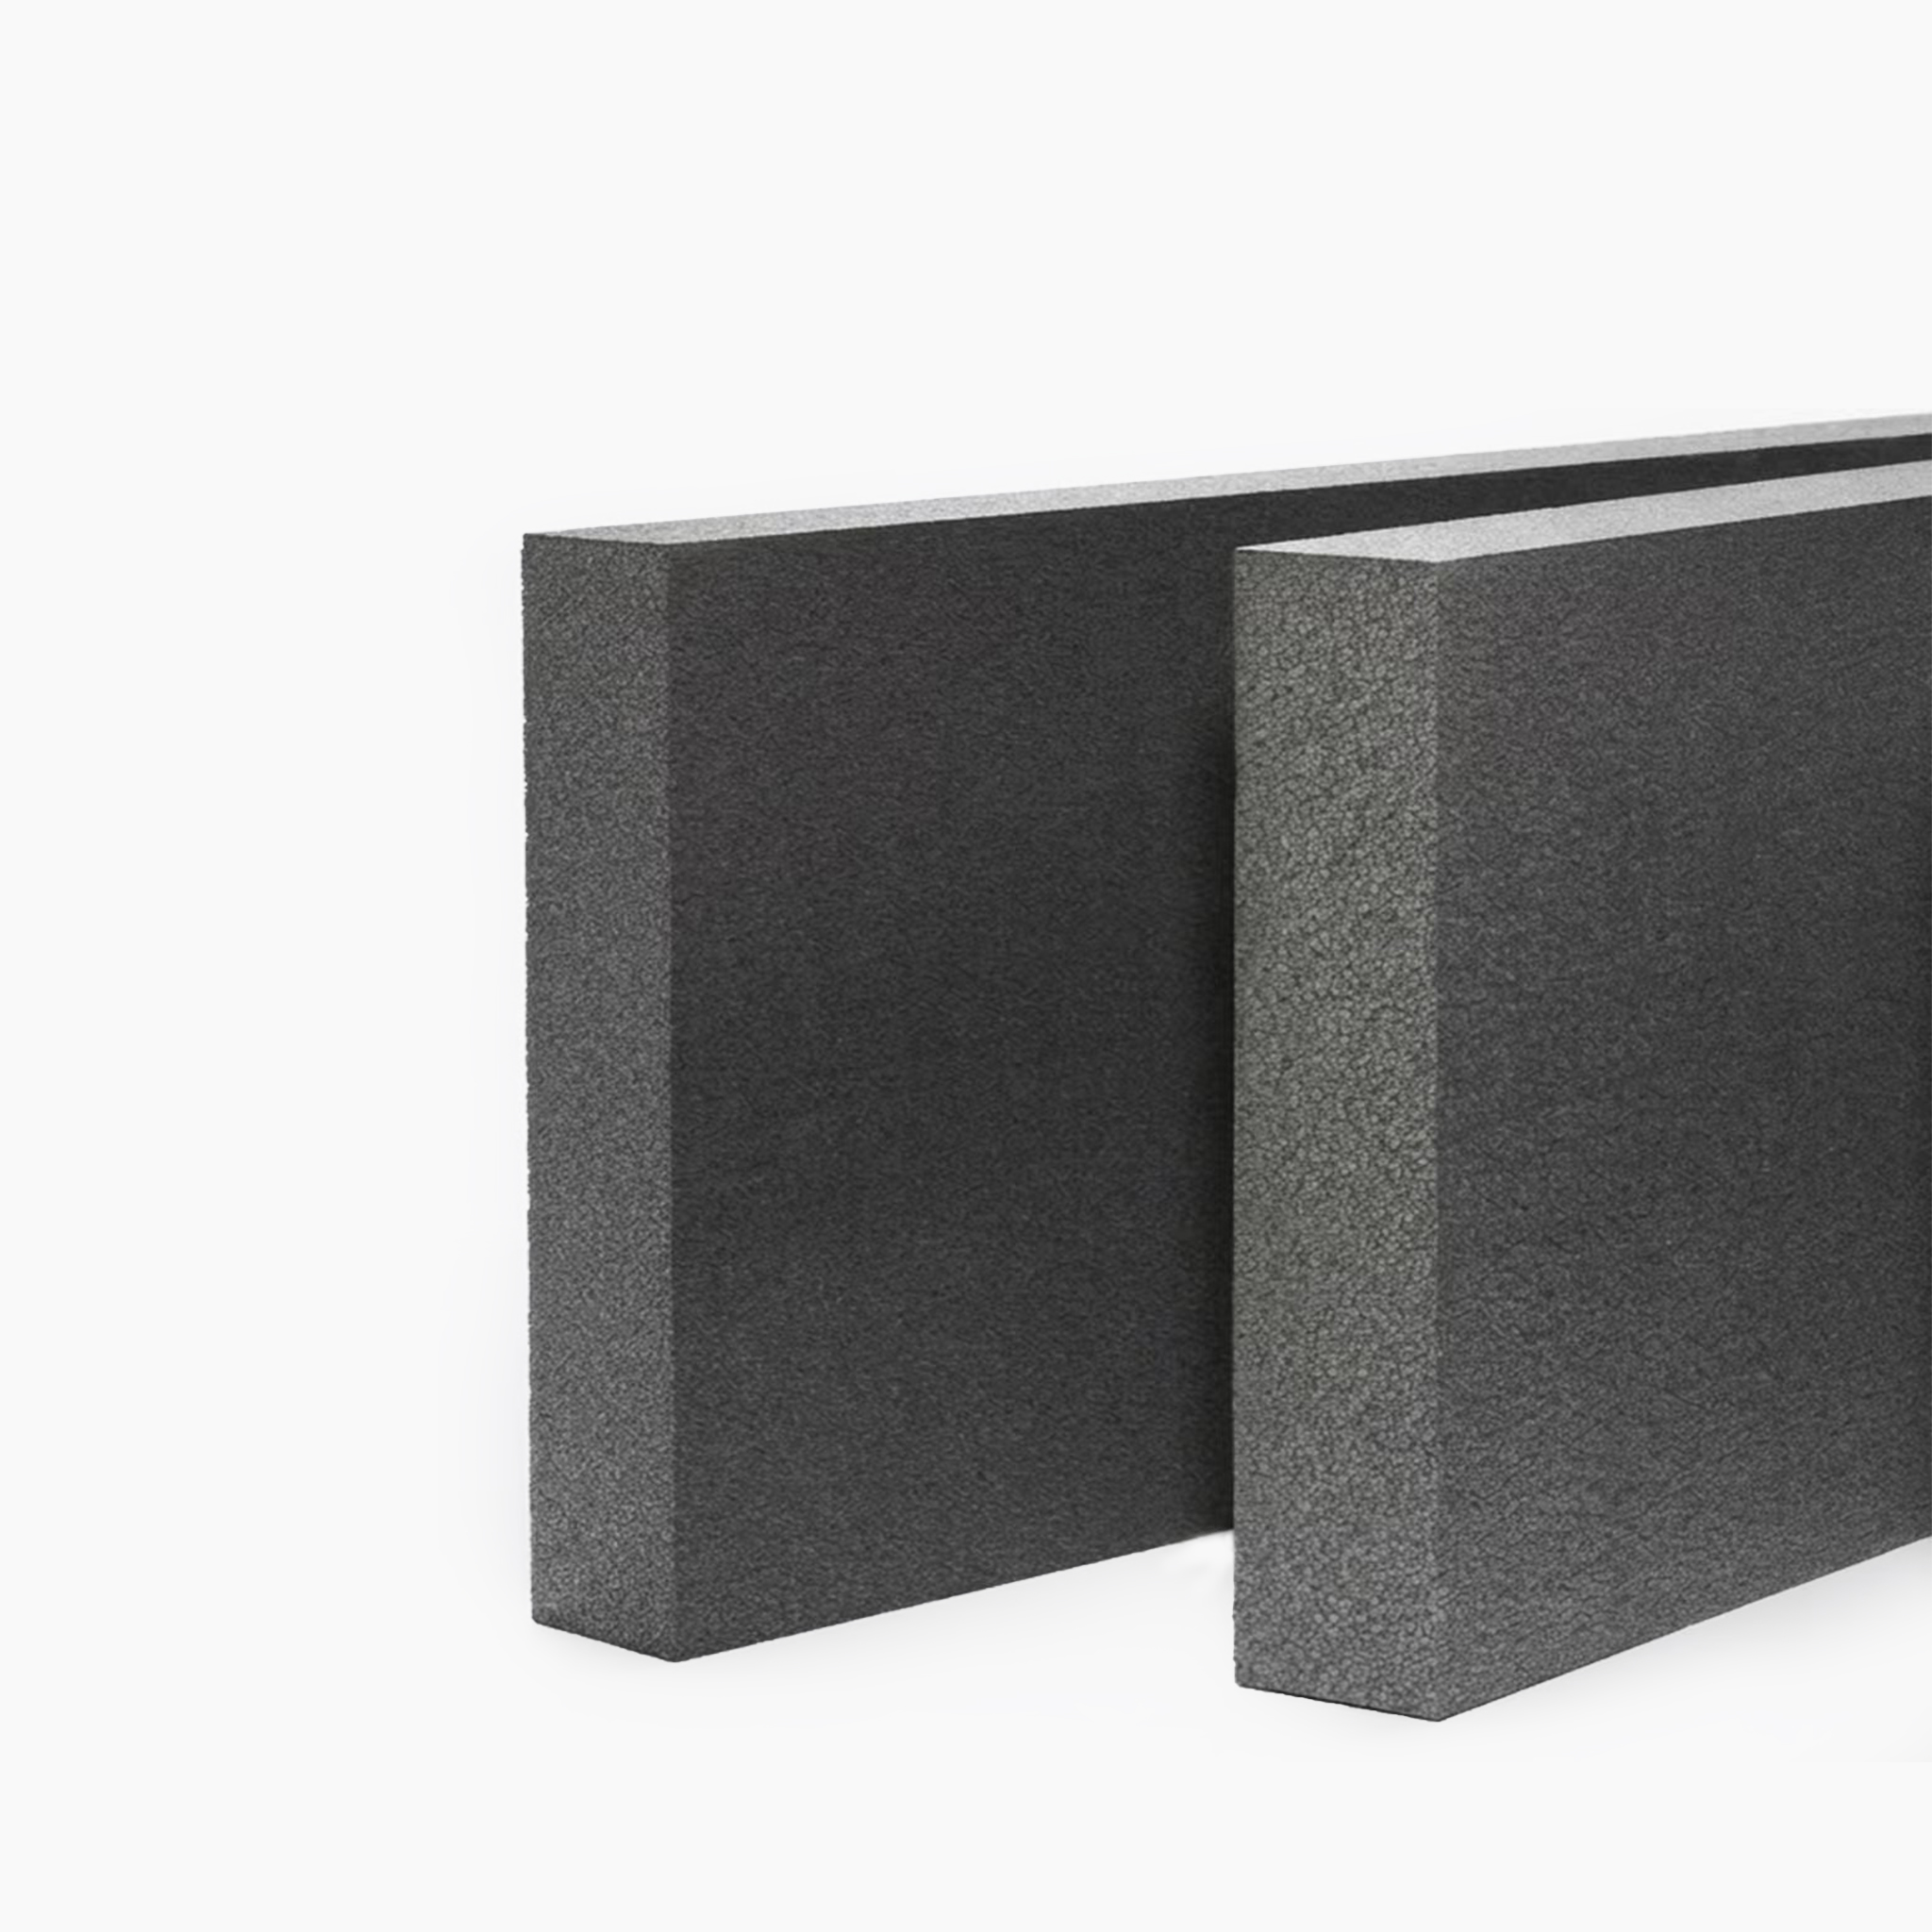
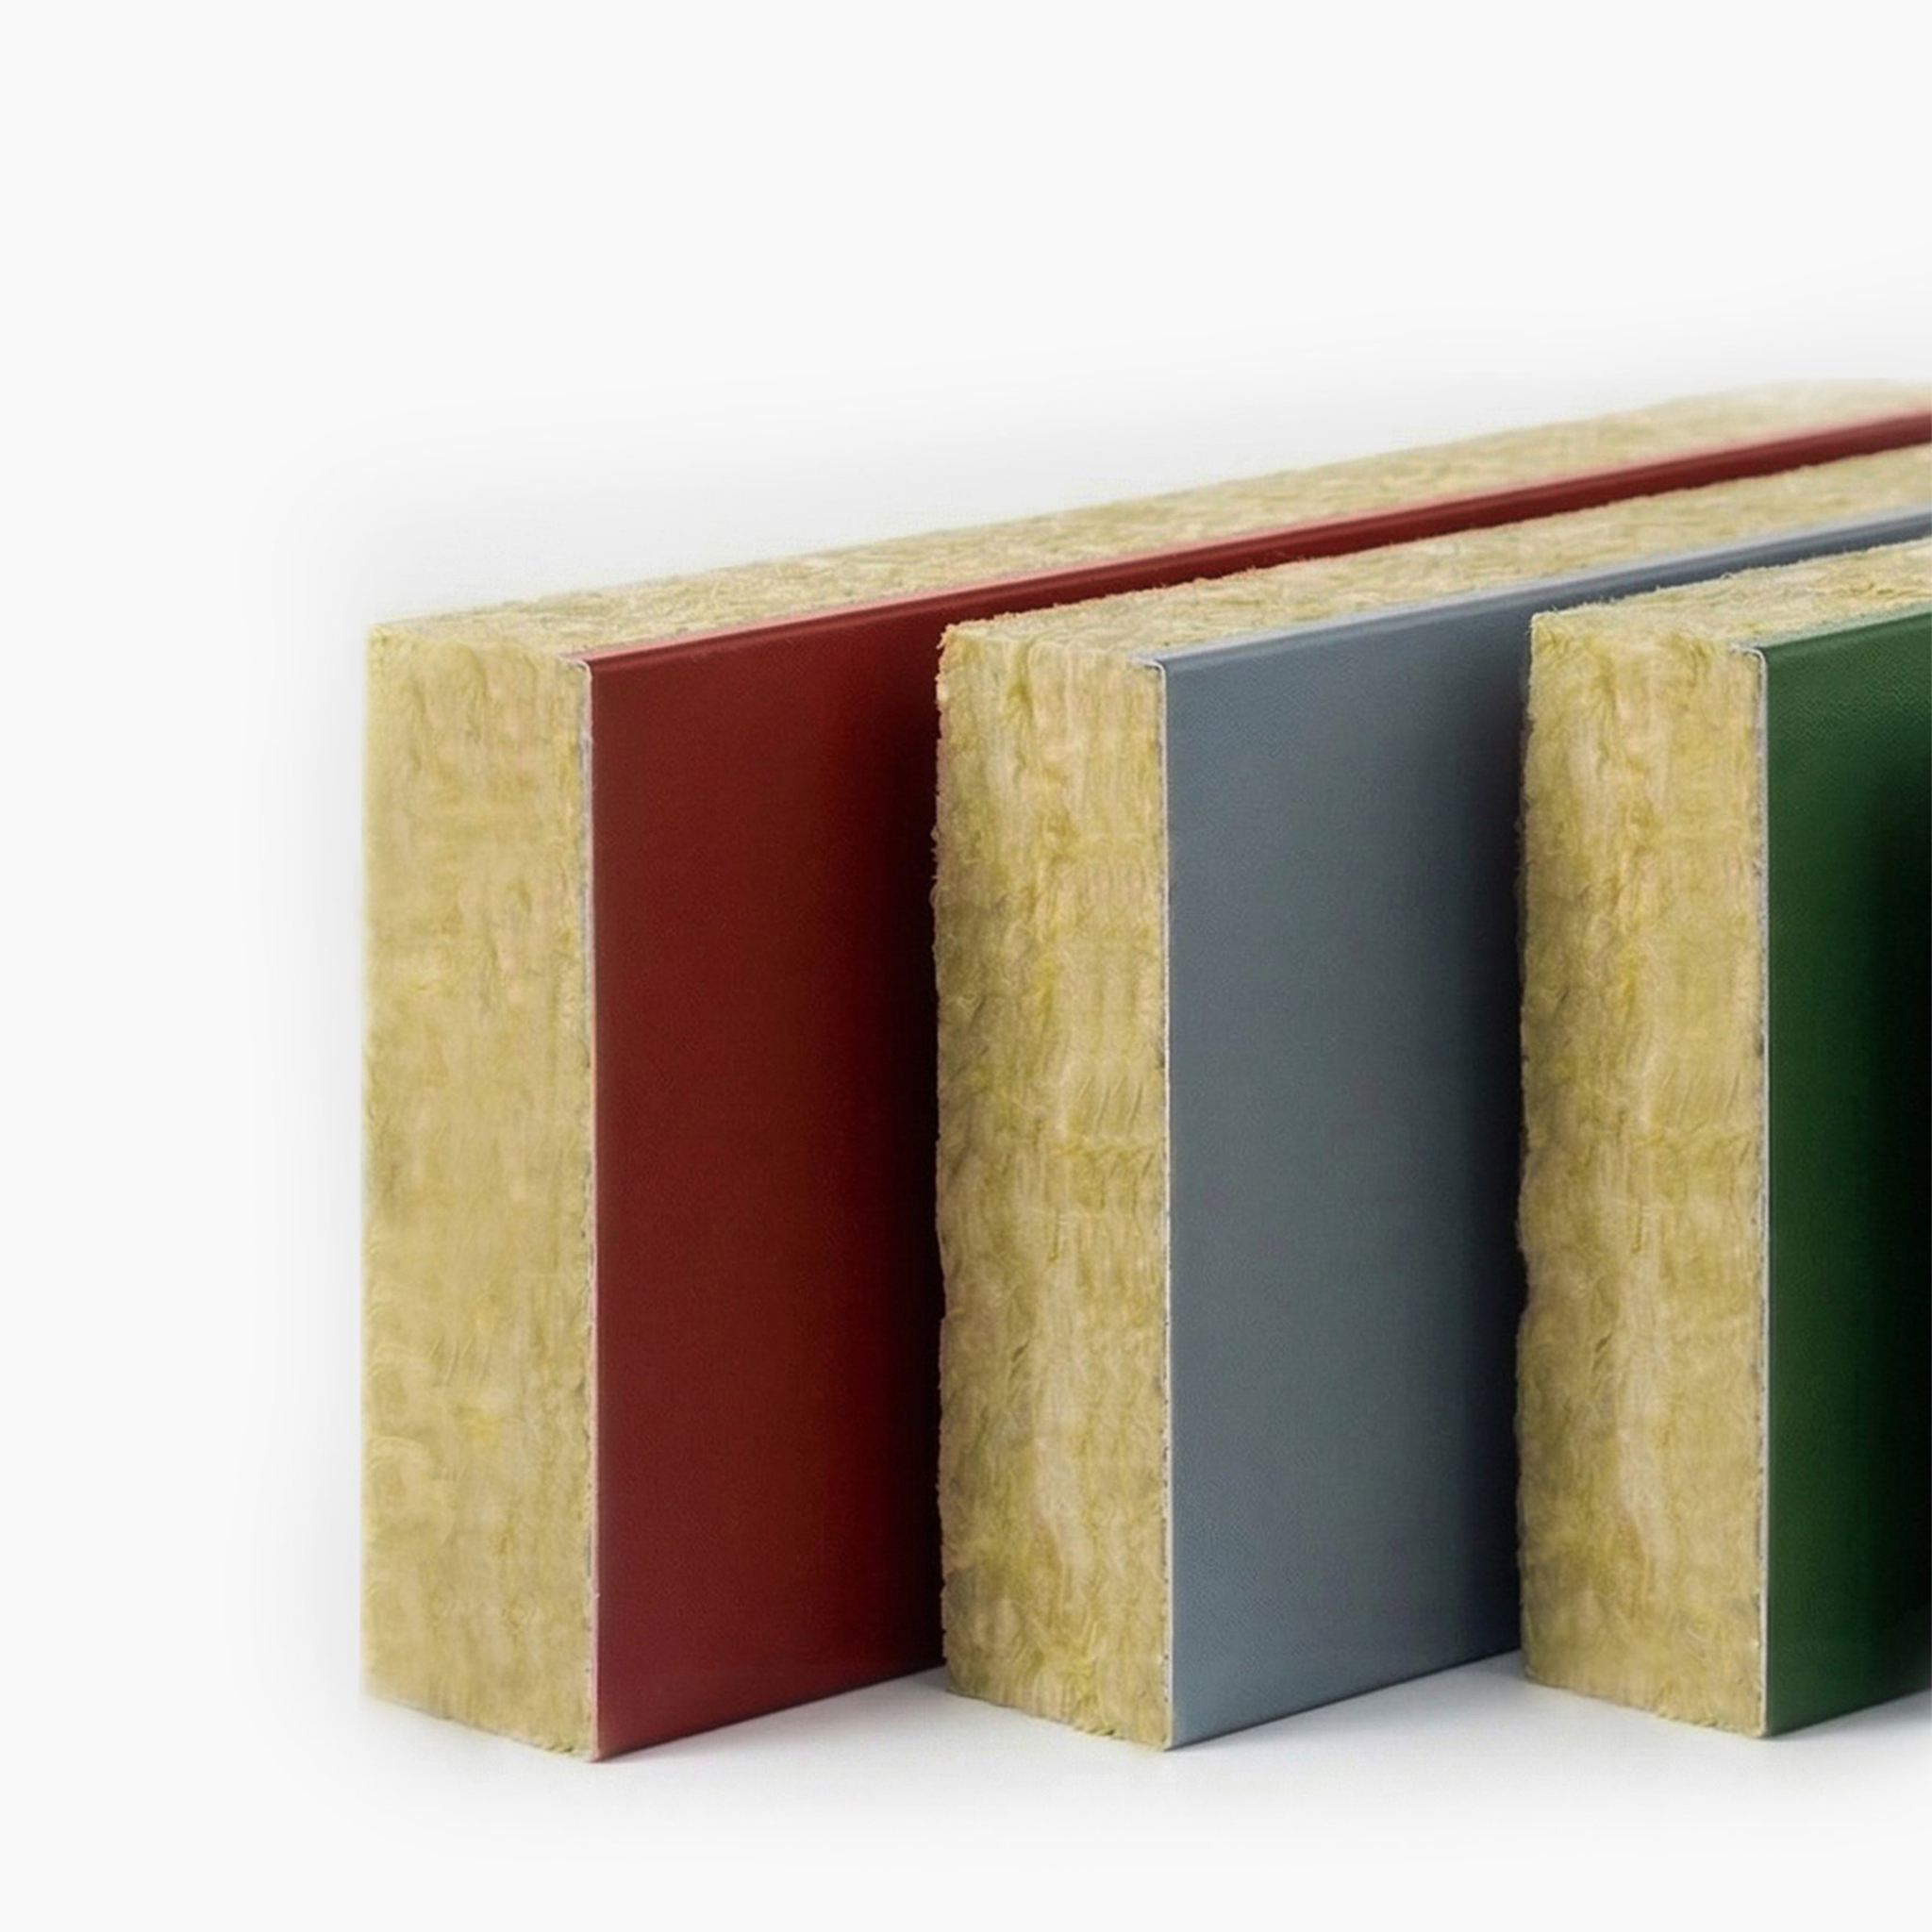
I. Adhesive Distribution & Layout
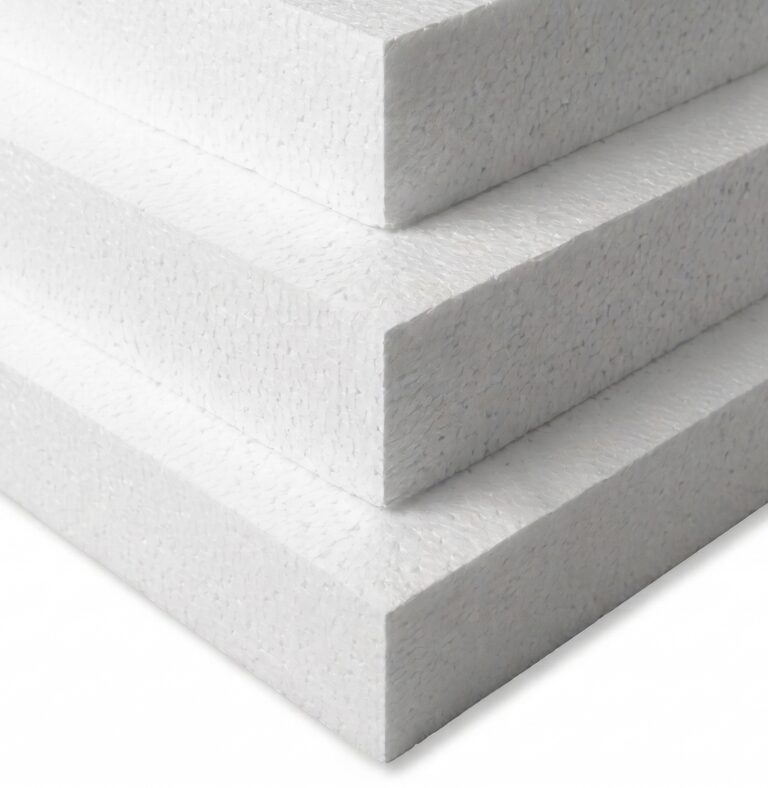
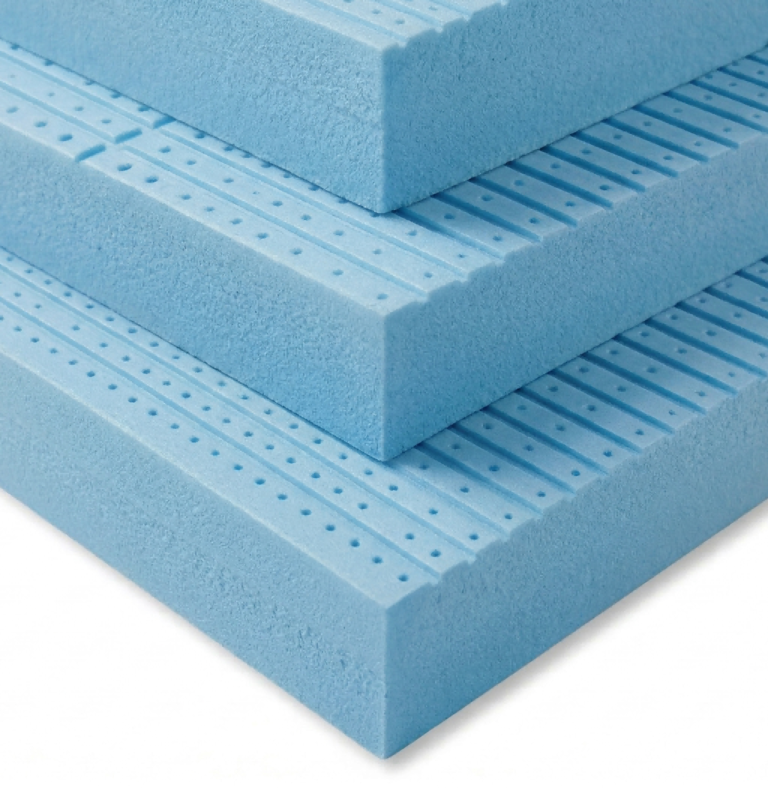
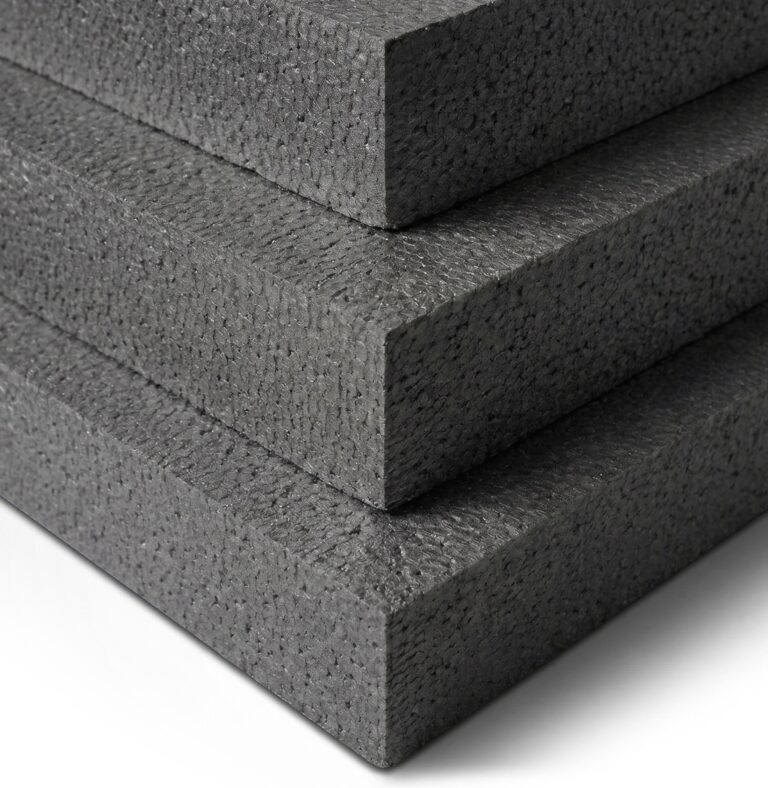
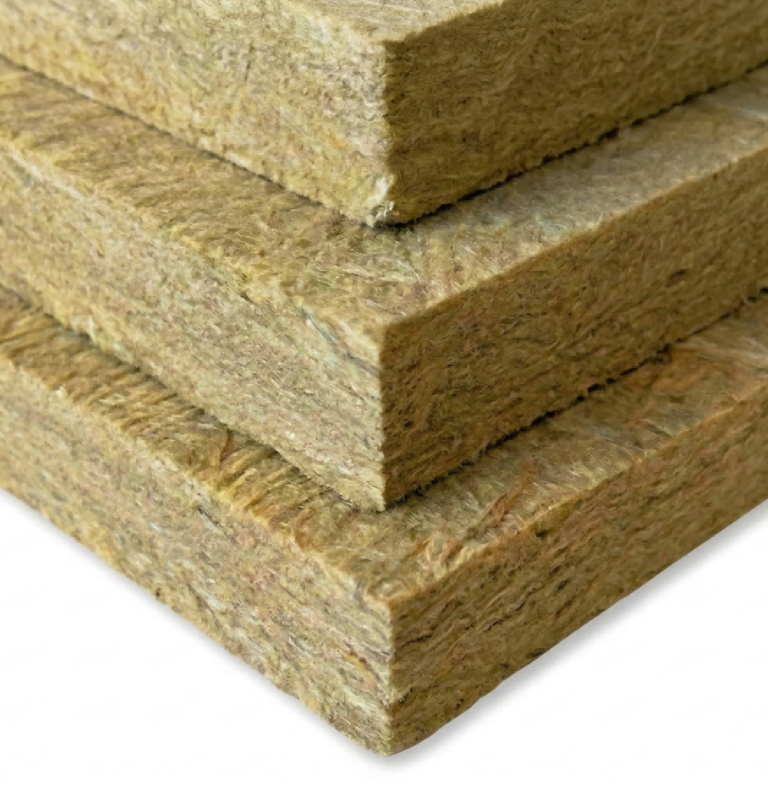
For standard-sized insulation boards , the distribution rules are as follows:The Peripheral Ribbon (Frame): Apply a continuous strip of bonding mortar around the entire perimeter of the insulation board. The width should typically be , with a thickness of approx. .Central Dabs (Points): Distribute bonding points evenly across the center of the board.
For standard boards, 6 to 8 circular dabs are usually arranged in a staggered (plum blossom) or symmetrical pattern.
Air Vents (Exhaust Vents): Leave a gap of approximately (without mortar) on the side of the peripheral ribbon to act as an air vent. This prevents the formation of “air cushions” during installation, ensuring a perfectly flat surface.
Ⅱ.Key Technical Parameters
Technical Parameter | Standard Requirement | Special Recommendations |
Effective Bonding Area | ≥40% | recommended for high-rises and Aerogel boards |
Ribbon Width | 50mm-60mm | Must be continuous, except for air vent gaps |
Central Dab Diameter | ≥100mm | Ensures the center remains fully supported |
Application Thickness | 8mm-15mm | Adjust based on substrate flatness; approx. after compression |
III. Construction Precautions
Prohibit “Point-only Bonding”
Strict Prohibition: It is strictly forbidden to apply adhesive only in the center (dots) without a continuous peripheral ribbon (frame).
The “Chimney Effect” Risk: Failure to create a peripheral seal results in an interconnected air cavity behind the boards. In the event of a fire, this cavity triggers a violent “Chimney Effect” (rapid vertical fire spread).
Structural Stability: Without a frame, insulation boards are prone to warping (curling) and subsequent detachment due to wind suction or thermal stress.
Compression and Leveling
Immediate Installation: Once the bonding mortar is applied, the board must be pressed onto the wall immediately to prevent the adhesive from “skinning over” (losing its tackiness).
Mechanical Leveling: Use a 2-meter leveling ruler (straightedge) to apply gentle and repetitive pressure (rubbing motion).
Full Contact: This ensures that the mortar achieves 100% micro-contact with the substrate and that all excess air is squeezed out, eliminating potential air pockets.
IV. Reinforcement of Critical Details
Corner Treatment
Staggered Interlocking: At external corners, the insulation boards must be installed in a staggered interlocking pattern (also known as “Toothing” or “Zipper” joints) to ensure structural stability and prevent vertical cracking.
Full-Perimeter Bonding: For corner boards, the bonding mortar must be applied in a full-surface or reinforced-perimeter manner to resist the increased wind suction (vortex shedding) at building edges.
Coordination with Mechanical Anchors
Mechanical Redundancy: Upon completion of the Ribbon-and-Dab (Strip-and-Dot) bonding, mechanical anchors must be installed to provide secondary securement.
Strategic Placement: Anchors should be positioned to avoid the dried mortar dabs wherever possible. This prevents the impact of the drill from fracturing or vibrating the mortar bond, which could otherwise lead to localized delamination or reduced adhesion.